1. Introduction
By default, the robot expects to be assigned an IP address through DHCP. However, if the external device does not provide this, the robot's IP address can be changed. This guide provides the necessary steps to do so. The setup only needs to be done once.
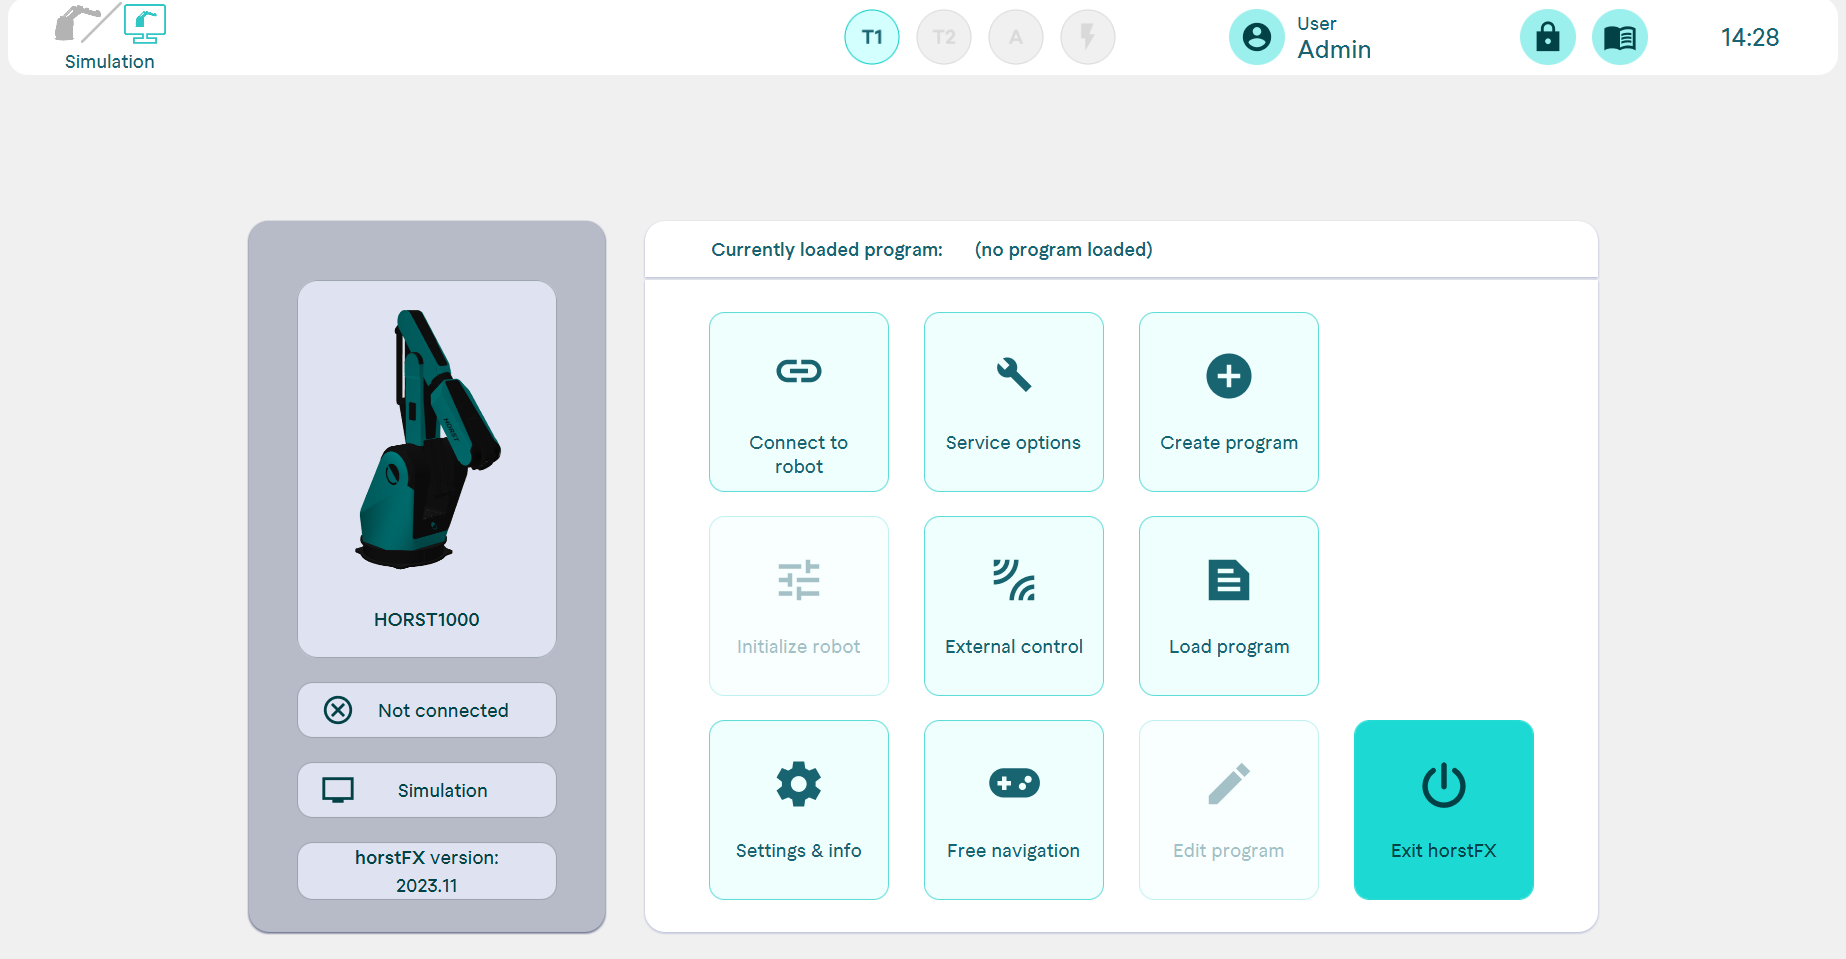
2. Finding out the current IP address
To find out the current IP address of the robot, you need to select the "External Control" button in the main menu.
Afterward, the following view should be visible. The current IP address of the robot can be read from the text field under "URL:". Alternatively, clicking on "Show all URLs" will display more information.

3. Setting up the Connection
Establishing the Hardware Connection
Connect the control cabinet to an external device using an Ethernet cable.
Connect the mouse and keyboard to the back of the horstPANELS using the available USB ports.
3.1. Switching to the Desktop
To switch to the desktop, simply click on the "Exit" button in the horstFX application. Alternatively, you can use the keyboard shortcut ![]() +
+ ![]() to navigate directly to the desktop.
to navigate directly to the desktop.
3.2. Opening Network Properties
To open the network properties, simply right-click on the button ![]() . This will allow you to access the settings menu by selecting "Edit Connections...".
. This will allow you to access the settings menu by selecting "Edit Connections...".

3.3. Adding a Network Connection
To add a new connection, simply click the button ![]() .
.
3.4. Creating an Ethernet Connection
Select "Ethernet" as the "Connection Type". Then, click the "Create" button to create a new Ethernet connection.

3.5. Setting up the Ethernet Connection
To set up the Ethernet connection, first select the "IPv4 Settings" tab. Then, you can give the new connection any name you prefer.
For the method, select "Shared to other computers".
If you want to use a static IP address, choose the "manual" method and assign an IP address using the "Add" option.
Clicking on "Save" will save the settings.

3.6. Checking the Network Connection
To check the network connection, click on the "network connection" button on the top right corner with your left mouse button. Make sure the connection is displayed. It can also be helpful to disconnect the connection once (by selecting "Disconnect") and then restore the connection.

To verify if the IP address has been successfully assigned to HORST, go back to horstFX in the main menu under the "External Control" tab and check if the newly assigned IP address is listed there (see section "Finding out the current IP address").
If the IP address is not listed, you will need to repeat steps one to six.